Packing cubes, compression bags or simple packing: which should you choose?
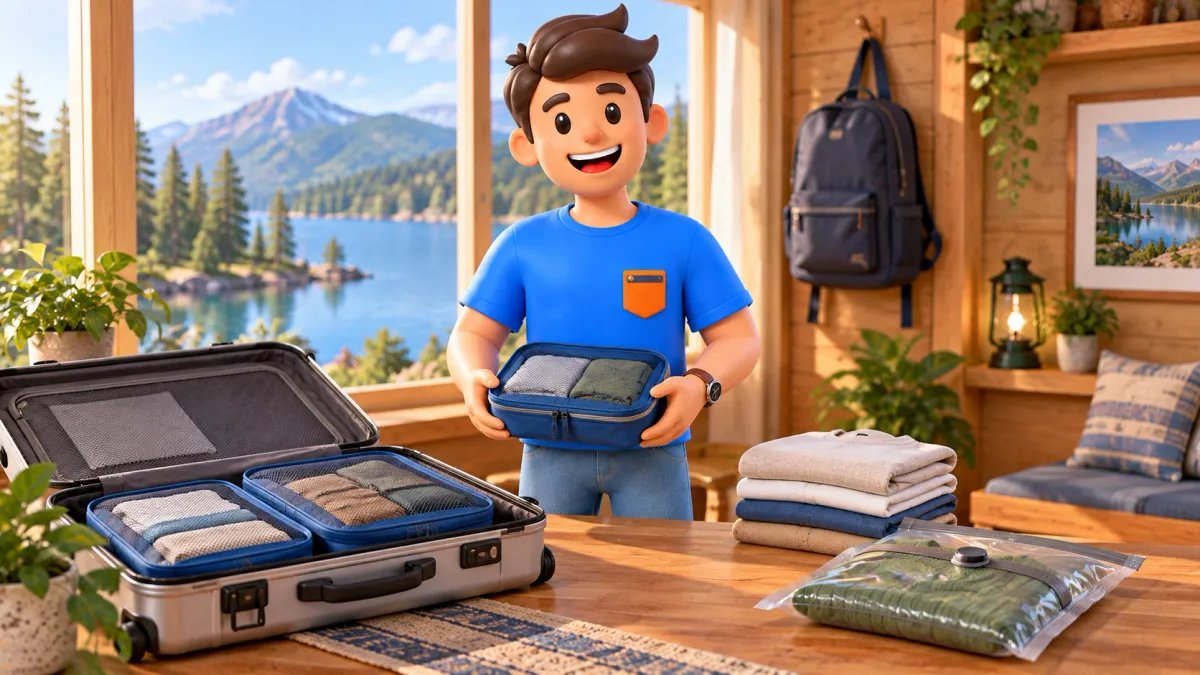
If your belongings fit and are easy to find, packing directly into your luggage may be enough. Packing cubes help separate items into groups you can remove together. Compression bags are worth considering for bulky, soft items when space is the problem.
First identify what you want to improve: organisation, volume or weight. Packing accessories can help with the first two. Compressing clothing does not reduce its mass, and the organisers themselves add weight.
Start with your itinerary and packing list
Before buying a large organiser set, lay out what you actually plan to take and check whether it fits your bag.
Think about how you will use it. Will you unpack into a wardrobe for a week, change accommodation frequently or need one outfit during an overnight journey? Those situations call for different arrangements.
For city visits, you can build a day-by-day plan in RoadMe around your interests and pace. Reviewing the planned activities can help you decide what to pack and which items deserve their own accessible group.
If weight is the issue, start by removing unnecessary items. The carry-on-only packing guide explains that process. Compression does not replace it.
Understand what each packing accessory does
A regular packing cube is a zipped fabric pouch that keeps a group of belongings together. A compression cube adds a mechanism to reduce the filled pouch’s volume, often a second zip. Eagle Creek’s packing cube guide explains that two-zip design.
Compression bags vary too. Some use straps, some release air when rolled, and others have a valve for a pump or vacuum cleaner. Check the actual product’s instructions. Being able to compress it at home does not establish that you can repeat the process during the trip.
| Method | Main purpose | Access during the trip | What to check |
|---|---|---|---|
| Packing directly into luggage | Fit a small, manageable kit | Easy when essentials are on top; stacks may become mixed | Can you retrieve and replace an item without unpacking everything? |
| Regular packing cubes | Keep belongings in separate groups | Remove the relevant pouch as a unit | Filled dimensions, weight, opening and fit within your bag |
| Compression packing cubes | Organise and reduce the bulk of soft contents | Reclose the compression mechanism after access | Does the zip catch clothing, and does the compressed shape fit? |
| Compression bags or sacks | Compress bulky, soft items | Opening may require another compression cycle | How compression works and whether you can repeat it away from home |
There is no universal space-saving percentage. Results depend on the contents, how tightly they were already packed and the shape of the luggage. Judge the usable space in the complete bag, rather than how flat one pouch becomes.
When simple packing is enough
For a short trip with a small kit, extra organisers may not earn their place. This is particularly true if you stay in one property and unpack on arrival.
Fold or roll clothing to suit the fabric and bag. Keep documents and journey essentials accessible, and use appropriate separate packaging for shoes and worn clothes.
Packing directly into the bag also lets you use gaps around larger items. Rectangular cubes do not necessarily fit a shaped backpack or suitcase better than individual clothing items. If your existing arrangement works, a complete accessory set is optional.
When packing cubes are useful
Cubes are especially useful when you move between properties, share one suitcase or prefer to live out of your luggage. Their benefit is keeping groups identifiable and letting you remove one without disturbing the rest.
Choose sizes around your filled luggage. One large cube can be awkward if it mixes items needed at different times. Many tiny pouches can make the system harder to navigate too.
Start with a few groups that serve a clear purpose. Before buying, check:
- whether the pouch opens wide enough;
- whether you can see the contents or identify them by colour;
- whether the filled pouch fits the available space;
- whether the zip is easy to use;
- the weight of the complete set you intend to take.
Mesh can make contents visible, but it does not create a sealed container. Assess protection against water, leaks and impacts separately.
When compression makes sense
Compression can help with soft, bulky items that you will not need repeatedly. One example is an insulating layer for a cooler section of the itinerary, provided the garment manufacturer allows that packing method.
Sea to Summit’s compression sack guide distinguishes waterproof designs from ordinary compression sacks. It also warns against long-term compressed storage of sleeping bags and down jackets. Follow the instructions for your own item and unpack insulated equipment after the trip.
Keep fragile items and anything unsuitable for pressure out of a compressing bundle. If clothing needs to arrive presentable, try packing it in advance and inspect the resulting creases.
Choose a bag you can close again at your destination. For a pump-operated model, account for access to the pump and its weight if you take it. Overfilling can make the bag awkward and undermine the result.
Build groups around when you need them

You do not need one method for every item. A useful combination might be direct packing for some clothes, a small cube for everyday underwear and compression only for a particular bulky layer.
Here is an illustrative arrangement for an overnight journey followed by several accommodation changes:
| Group | Contents | Placement |
|---|---|---|
| First-night kit | Sleepwear, fresh underwear and necessary personal supplies | A small accessible cube, reachable without opening the entire bag |
| Everyday clothing | Clothes needed before the next laundry opportunity | Regular cubes or orderly stacks |
| Cooler-weather kit | An appropriate insulating layer | Compression packaging if suitable for the item |
| Worn clothing | Dry items awaiting laundry | Separate from clean clothes |
Before a transfer, also identify the items needed en route: documents, phone and charging equipment. Avoid burying that kit inside the most deeply packed bundle.
While preparing your phone, you can download your destination in RoadMe with an internet connection. Once downloaded, its maps and navigation are available offline for exploring after arrival.
Allow for worn clothing and purchases on the return journey. The arrangement needs to work after you have used part of the wardrobe too.
Compare methods using the same belongings
A trial with your own kit is more useful than a promise on the packaging. Keep the bag and contents the same while changing how you pack them.
- Create a baseline. Pack without new accessories and check whether the luggage closes.
- Add the chosen organisers. Compare their fit and look for unused gaps.
- Test access. Retrieve the first-night kit, then put it back.
- Repeat compression. Use only equipment you will have during the trip.
- Weigh and measure the packed luggage. Include pouches, sacks and any pump you plan to carry.
- Inspect your clothes. Decide whether the creasing after the trial is acceptable.
Do not automatically fill the space you gain. Eagle Creek’s comparison also notes that fitting additional items into luggage increases the load.
Choose an arrangement that makes essentials easy to retrieve, can be repacked during the trip and meets the applicable baggage limits. That may mean a few cubes and one compression bag, or simply a careful arrangement using supplies you already own.