Carry-On Baggage: How to Check Your Flight’s Size, Weight and Item Rules

Check your carry-on allowance in your booking and the airline’s official policy, then measure and weigh the bags you will actually take. Confirm the permitted bag count, dimensions for each category and whether weight limits apply separately or together. Check the contents against airport screening and destination rules as well.
A suitcase marketed as “cabin approved” is not proof that your flight accepts it. Allowances vary by carrier, fare and aircraft. This guide covers an adult’s ordinary personal bags; child equipment, medical devices and specialist items may need separate arrangements.
Start with your booking, not a generic luggage chart
Find your fare, cabin class and purchased baggage extras in the booking. Compare these details with the airline’s current carry-on or hand-baggage policy.
Check every flight, including the return. If one airline sells the ticket and another operates the flight, identify the operating carrier and confirm which policy applies. A checked-baggage allowance does not establish your cabin-bag entitlement.
Save the relevant conditions, checking date and confirmation of any purchased extra. If the booking and general guidance appear inconsistent, ask the carrier about your reservation. An old comparison chart or an answer for another fare cannot resolve that discrepancy.
Identify the bags you are entitled to bring
Policies often distinguish between:
- An underseat item: a small backpack, handbag or similar bag within the stated limits. Terms include personal item and small cabin bag.
- An overhead bag: a separate category described as a carry-on, cabin bag or large cabin bag.
Terminology differs between airlines. Look at dimensions, storage location and booking entitlement rather than relying on the category name alone.
Some fares include only an underseat item. An overhead suitcase may require a particular fare or an added service. A laptop bag, waist pack or shopping bag is not automatically an extra free item; check whether it counts towards the allowance or qualifies for an explicit exception.
Make a record for each flight:
| Check | Details to record |
|---|---|
| Bag count | Number of permitted pieces and their categories |
| Dimensions | Limits for each category, measurement order and units |
| Weight | Limits per piece or a combined limit |
| Storage | Under the seat or in an overhead compartment |
| Extras | Purchased entitlement and the flights it covers |
| Special items | Separate conditions for child, medical or other equipment |
“No checked bag” and “overhead carry-on included” are different statements. Confirm the second rather than inferring it from the first.
Measure the outside of the packed bag
Pack everything you intend to take through boarding, close the bag and retract its telescopic handle. Measure the external dimensions using the airline’s method.
Include wheels, fixed handles and other protruding parts where the policy requires them. Check filled external pockets on a backpack: they can increase its depth beyond the empty-bag measurement.
Measure between the outermost points on each side. Match height, width and depth to the order used in the carrier’s instructions. If one policy uses inches and another centimetres, convert your measurements consistently before comparing them.
Capacity in litres is not an airline size allowance. Bags with equal capacity can have different shapes. Use a total of the three dimensions only when the policy specifies that method; it does not replace individual side limits.
Check a soft bag while packed. Being able to fold an empty backpack does not establish that the filled version will fit.
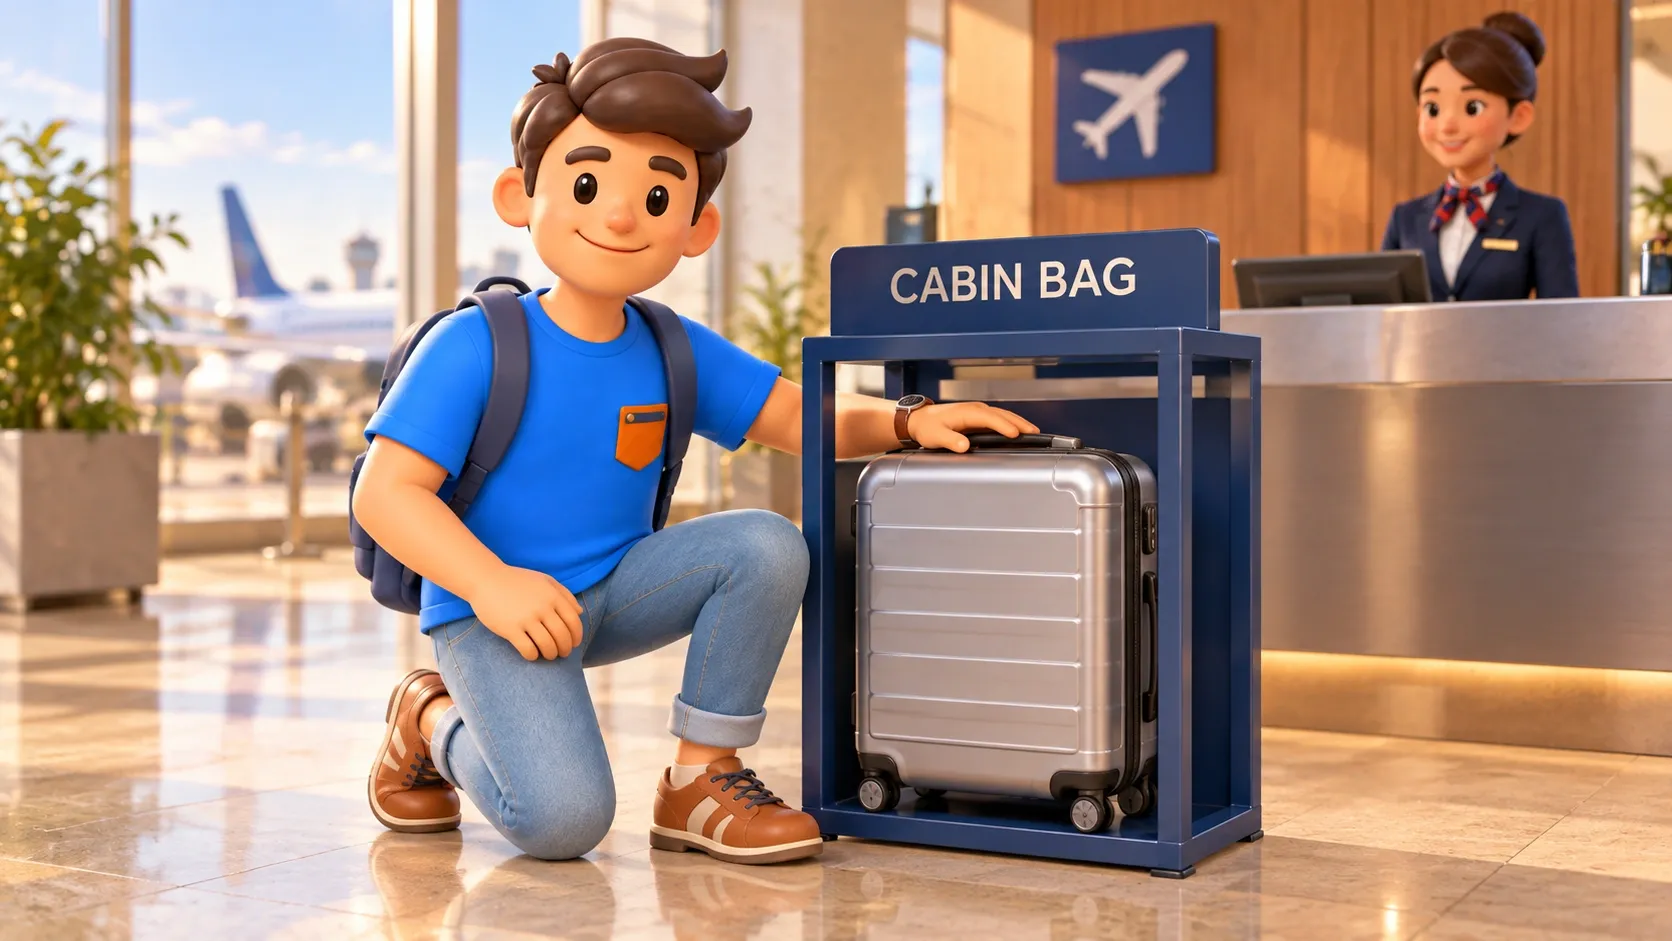
If you can use the airline’s baggage sizer, follow its instructions and check the bag with all relevant protrusions included. A home-made frame can help you assess dimensions before departure, but it does not guarantee airline acceptance.
Weigh the complete kit and check how the limit works
Weigh each bag with its contents and cases, including anything you will add before leaving: chargers, toiletries or food. If two bags are permitted, establish whether the weight cap applies to each bag or to both together.
With a combined limit, moving a laptop from the suitcase to the backpack does not reduce the total. Separate limits may allow redistribution, but you must still meet size and piece-count requirements.
Compression bags reduce the space occupied by clothing, not its weight. If no numerical weight limit is published, other conditions still apply; for example, an airline may require you to lift and stow the bag yourself.
Where practical, leave some allowance for additional belongings and differences between scales. For ways to reduce the contents, use the carry-on-only packing guide.
Test the same bag against every flight
A bag must meet the requirements of each flight on which you intend to keep it in the cabin. A more generous first-flight allowance does not increase the next carrier’s limit.
Here is an illustrative example with invented limits. Dimensions are listed as height × width × depth, and the same main bag is being checked for both flights.
| Parameter | Flight A | Flight B | Packed bag |
|---|---|---|---|
| Dimensions | Up to 55 × 40 × 20 cm | Up to 55 × 35 × 25 cm | 54 × 38 × 22 cm |
| Weight | Up to 8 kg | Up to 7 kg | 7.4 kg |
For Flight A, the bag meets the weight cap but exceeds the depth limit: 22 cm rather than 20 cm. For Flight B, it exceeds both width and weight: 38 cm rather than 35 cm, and 7.4 kg rather than 7 kg.
Under these example conditions, a kit within 55 × 35 × 20 cm and 7 kg would meet both sets of limits using the same measurement order. A real itinerary also requires checks of bag categories, piece counts and purchased extras.
Allow for purchases on the return journey. Space inside a suitcase does not prove that you have spare weight allowance or permission for another shopping bag.
Check the contents under three separate sets of rules
Size and weight are only part of the check. For the contents, review:
- Airline conditions: cabin restrictions, dangerous-goods requirements and any advance approval.
- Security screening: rules at departure and at any airport where you may be screened again.
- Import and export requirements: restrictions imposed by countries on your route.
Start with items that often need closer attention:
- Liquids, gels and aerosols: container capacity, packaging, exceptions and repeat-screening conditions. Where a rule limits container capacity, a partly empty large bottle does not become a smaller container.
- Power banks and spare lithium batteries: markings, energy rating, quantity, protection and carrier restrictions. Follow the separate guide to checking power-bank rules for your flight.
- Medication and medical supplies: documentation, screening arrangements and country restrictions.
- Tools, sharp items and sports equipment: acceptance of the specific item in the cabin and whether checked carriage is permitted.
- Food and purchases: screening and import restrictions, plus packaging requirements for duty-free liquids on a connection.
Buying a larger cabin allowance does not remove these restrictions. Buying something at an airport does not automatically make it acceptable on the next flight or across a border.
Resolve a mismatch before reaching the airport
Identify the failed condition first: extra piece, dimensions, weight or restricted contents. Each calls for a different response.
For excess volume, reduce the contents or choose a bag with a suitable shape. For excess weight, remove optional items or investigate an available baggage service. If there are too many pieces, check whether the belongings can fit within the permitted set.
Before removing activity-specific equipment, review the trip programme. Keep items required for confirmed plans and reconsider unnecessary duplicates.
You can build a day-by-day sightseeing plan in RoadMe around your dates, interests and pace. Use the planned activities to decide which additional belongings have a clear purpose.
If you are considering an extra, establish what it changes: weight, dimensions, piece count or entitlement to a larger bag. Check availability, the purchase deadline and which flights it covers. Do not assume every mismatch can be resolved by paying at the gate.
For an item prohibited in the cabin, check whether it is accepted in checked baggage. Some items cannot travel there either.
Be ready if the bag must go in the hold
A compliant carry-on may still need to travel in the hold, for example when cabin storage is unavailable. Whether this can happen and the handling conditions depend on the flight.
Keep documents, valuables and essential journey items accessible. If the bag is taken, remove power banks and spare lithium batteries and keep them in the cabin, following protection and storage requirements. Ask staff about other necessary steps, obtain the applicable confirmation and establish where the bag will be returned.
Before leaving, confirm that:
- You have checked the allowance for each flight and your fare.
- Bag count and categories match your booking.
- Packed dimensions have been measured using the carrier’s method.
- Weight includes every relevant bag and its contents.
- Item restrictions have been checked separately from the baggage allowance.
- Service confirmations are saved and essential items are easy to remove.
The check is complete when the whole kit meets the applicable conditions: pieces, dimensions, weight and contents, throughout the itinerary.